Top 10 Ways to Adjust Machine Settings for Paper Thickness

Time:2026-09-28 Author:Oliver
0%

Paper thickness changes how a sheet feeds, bends, grips, and exits a machine. A setting that works for light stock may cause heavy board to skew or leave roller marks. This guide, “Top 10 Ways to Adjust Machine Settings for Paper Thickness,” focuses on practical adjustments operators can observe and test. It covers feed pressure, roller gaps, transport speed, sheet guides, and output stacking. Small changes matter. A dial moved slightly can affect the whole run.

How to adjust machine settings for different paper thickness begins with the material, not guesswork. Check the stock’s measured caliper, grain direction, coating, and moisture condition. Then make a controlled test using a few sheets. Watch the leading edge as it enters, listen for slipping, and inspect the finished sheet for creases or scuffs. Printing expert Dr. Helmut Kipphan’s work on print media offers a useful reminder: print quality depends on both the material and the process. The practical takeaway is simple: match machine settings to the sheet, then verify the result.

Not every adjustment will be perfect on the first attempt. Paper batches vary, and a setting that worked yesterday may need correction today. Keep a brief record of stock details, machine settings, and test results. It helps, though records can still miss a change in humidity or paper condition. The following ten methods provide a careful starting point, not a substitute for the machine manual or a trained operator’s judgment.
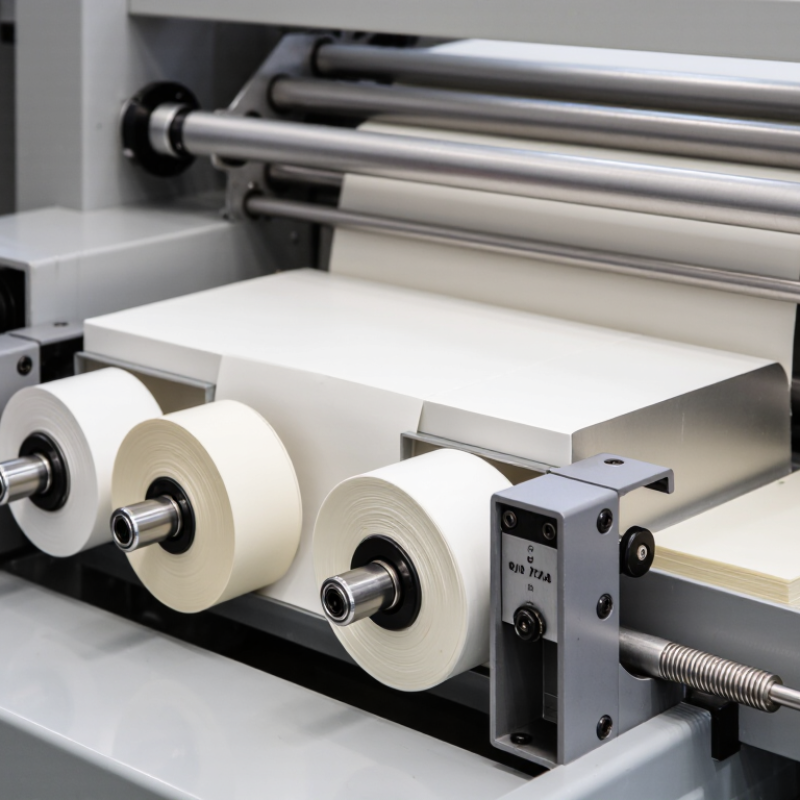
Top 10 Ways to Adjust Machine Settings for Paper Thickness

Measure Sheet Caliper Under ISO 534 and Record Thickness in Micrometres

Before changing a machine gap, measure the sheet caliper under ISO 534. Use a suitable thickness gauge with the specified measuring pressure, and condition samples consistently. Paper compresses easily. Handle sheets by their edges; fingerprints, folds, and dust can distort readings.

Take measurements at several points across representative sheets, avoiding damaged areas. Record each result in micrometres, along with the paper grade, sample location, and measurement conditions. For example, a reading of 0.12 millimetres should be recorded as 120 micrometres. Keep individual readings as well as the average: variation may matter more than the mean. A number can still mislead.

Use the measured caliper as a starting point for setting feed guides, nip clearance, or other thickness-sensitive adjustments. Change settings in small increments, then run a short test and inspect for skewing, marking, or feeding resistance. Compare the result with the machine’s operating limits and the paper supplier’s specifications. Don’t assume every batch behaves identically. Recheck the caliper when the stock changes, and note the final settings beside the measurement record.

Convert Caliper Correctly: 1 Paper Point Equals 25.4 μm

Top 10 Ways to Adjust Machine Settings for Paper Thickness

For paper caliper, one point equals 0.001 inch, or 25.4 μm. This is a paper-thickness unit, not a typographic point. Multiply the point value by 25.4 to convert it to micrometers. A 12-point sheet, for example, measures about 304.8 μm. Use the same units when recording measurements and setting clearances; mixing inches and micrometers invites avoidable errors.

Measure the actual stock with a caliper or micrometer, rather than relying only on its listed specification. Take readings at several spots, since coating, moisture, and sheet variation can change thickness. Keep the measuring pressure consistent. Then adjust feeder gaps, guides, or nip settings in small increments, following the machine’s operating instructions. Run a few sheets and check for scuffing, misfeeds, or uneven pressure. Small changes matter.

I once treated the nominal caliper as exact. It wasn’t. A fresh stack can behave differently from a sample taken near its edge, and compressed paper may read thinner. Record the measured value, conversion, and each adjustment. Leave room for judgment: a number helps, but the sheet’s behavior during a test run matters too.

Condition Paper at ISO 187’s 23°C and 50% Relative Humidity

Top 10 Ways to Adjust Machine Settings for Paper Thickness

Condition Paper at ISO 187’s 23°C and 50% Relative Humidity

Paper thickness can shift as its moisture content changes. Before adjusting a press, cutter, or feeder, condition samples in the ISO 187 standard atmosphere: 23°C and 50% relative humidity, within the standard’s applicable tolerances. Keep sheets separated so air can circulate, and wait until their moisture condition stabilizes. A quick check is not always enough.

Measure thickness with a suitable calibrated gauge, using consistent measurement pressure. Paper compresses. That matters. Record the reading, room temperature, and humidity, then compare several sheets rather than trusting one spot. I have seen operators chase a feeder fault when the stock had simply absorbed moisture overnight. It is easy to blame the machine. Sometimes the room is the problem.

Once the paper is conditioned, adjust guides and nip clearance to the measured stock, then test a small batch. Make changes in small increments and watch for skewing, double-feeds, scuffing, or uneven cutting. If performance changes during a run, recheck the paper and the room before tightening settings. One imperfect detail: conditioning takes time, and production schedules may not leave enough. Note that limitation instead of treating an unconditioned measurement as definitive.

Top 10 Ways to Adjust Machine Settings for Paper Thickness — Condition Paper at ISO 187’s 23°C and 50% Relative Humidity
No. Machine Setting Adjustment for Paper Thickness Practical Check
1 Paper conditioning Condition paper in the ISO 187 standard atmosphere of 23°C and 50% relative humidity before measuring or setting up the machine. Allow the stock to reach moisture equilibrium according to the applicable test or process procedure. Record the room temperature and relative humidity; avoid comparing conditioned stock with paper taken directly from a different environment.
2 Thickness measurement Measure the actual caliper of the conditioned stock with a suitable thickness gauge. Use measurements from several locations because thickness can vary across a sheet or roll. Use the measured stock thickness, rather than the paper’s nominal weight alone, when selecting a machine setup.
3 Feed or transport gap Set the feed gap or transport clearance to suit the measured caliper and the machine’s operating instructions. Increase clearance as needed for thicker stock; do not assume one universal gap value. Run a small batch and check for scuffing, skew, jams, or inconsistent sheet pickup.
4 Nip or roller pressure Adjust nip pressure within the machine’s permitted range. Thicker stock may need more clearance, while excessive pressure can mark, crush, or distort the sheet. Inspect both sides of test sheets for pressure marks and confirm reliable transport and contact.
5 Sheet separation and air assist For thicker or stiffer sheets, tune separator settings and air assistance to prevent multiple-sheet feeds. Make small changes because too much air can also disrupt feeding. Check for double feeds, missed feeds, and curled or displaced sheets during a test run.
6 Side guides and registration Set guides to hold the sheet securely without squeezing its edges. Recheck registration when changing to a stock with a different caliper or stiffness. Confirm that sheets travel squarely and that the printed or processed position remains consistent.
7 Transport speed If thicker stock feeds unevenly or does not process consistently, reduce speed in controlled steps, provided the machine allows it and the process requires it. Verify that slower operation improves feeding or processing without causing other quality problems.
8 Heating or drying settings Where heat or drying is used, select settings appropriate to the substrate and process. Change settings only within the equipment and material limits; paper thickness alone does not determine a universal temperature. Check for adequate drying or fusing, and look for curl, discoloration, or heat damage.
9 Web tension or braking On roll-fed equipment, tune tension and braking for the stock’s thickness and stiffness. Use the lowest stable setting that maintains controlled web movement. Look for wrinkles, wandering, slack, or breaks, and make adjustments gradually.
10 Scoring, folding, or finishing setup For thicker paper, review scoring and folding settings to reduce cracking and misfolding. Use tooling and settings intended for the stock, following the machine’s instructions. Inspect test pieces along folds and scores for clean lines, cracking, and accurate alignment.

Setup principle: Paper behavior also depends on moisture content, stiffness, grain direction, coating, and machine design. Treat adjustments as starting points, make controlled test runs, and follow the equipment manufacturer’s operating limits.

Set Feed, Gripper, and Nip Clearances to Caliper and OEM Limits

Paper thickness is caliper, not simply a sheet’s weight. Measure a representative stack with a calibrated instrument, then compare results with ISO 534:2011 or TAPPI T 411, recognized methods for paper and board thickness. Record the stock grade and measured value in micrometers. For example, 120 μm equals 0.12 mm; use the actual reading, not a catalogue estimate. One reading is a clue, not a verdict.

Set feed guides and gripper clearance to the measured caliper and the machine manufacturer’s operating limits. The sheet should enter squarely, without buckling or being pinched. Adjust nip clearance carefully: excessive pressure can mark or crush the sheet, while too little may cause slippage or uneven transfer. Change one setting at a time, then run a short test and inspect edges, registration, and surface marks. Thin stocks can behave differently with humidity, so note room conditions too.

Tips: Keep a caliper record beside the job settings. Check several sheets, not just one. If feeding remains inconsistent, stop and recheck alignment before tightening the grippers. It is easy to trust a familiar setting too much; stock variation can make yesterday’s adjustment wrong today. Never exceed OEM limits.

Test-Run the Stock and Check Feeding, Registration, and Surface Marking

Run a small test batch using the actual paper stock, not a substitute with a similar weight. Let the sheets acclimate to the room first; curled or damp stock can distort the results. Record the paper thickness, feed setting, and any changes you make. Small notes help when a later run behaves differently.

Watch each sheet enter the machine. Sheets should move without hesitation, skewing, or double-feeding. Check the printed marks against the sheet edges at several points, not just the first copy. If registration drifts, adjust one setting at a time and run another short batch. It is tempting to change several controls at once. That makes the cause harder to identify.

Inspect both sides under steady light. Look for roller streaks, dents, scuffs, or ink that transfers when you gently rub a dry area. Heavy pressure may improve transfer but can leave marks or flatten the stock. Reduce pressure in small steps, then retest. A clean first sheet is not enough. Check a few sheets from the middle of the batch too. Paper can feed well at the start and shift as the stack settles, so keep the test modest and repeat it after adjustments.

Adjust Machine Settings for Paper Thickness

Test-run the stock and check feeding, registration, and surface marking.

Bars show representative caliper ranges in micrometers (µm); actual stock varies by grade and supplier. Measure the stock, then adjust feeder separation, air or suction, and transport pressure to the machine’s specifications. Run a small batch and inspect for misfeeds, registration drift, and surface marks before production.

FAQS

What conditions should paper reach before machine adjustments?

Condition samples at 23°C and 50% relative humidity, within the applicable standard tolerances. Keep sheets separated until their moisture condition stabilizes.

Why can paper thickness change?

Paper can absorb or release moisture, changing its thickness. A stack left in a damp room overnight may behave differently.

How should paper thickness be measured?

Use a suitable calibrated gauge with consistent pressure. Paper compresses. Measure several sheets and record the readings, room temperature, and humidity.

What should I adjust after measuring the stock?

Set the guides and nip clearance to match the measured thickness. Make small changes, then test a short batch.

What should a test run reveal?

Watch for hesitation, skewing, and double-feeds. Check registration against the sheet edges at several points, not only on the first copy.

How can I spot surface marking?

Inspect both sides under steady light for roller streaks, dents, or scuffs. Gently rub a dry area to check for ink transfer.

What if registration drifts during testing?

Change one setting at a time and run another short batch. Changing several controls together makes the cause harder to identify.

How often should I inspect sheets during a test?

Check a few sheets from the middle of the batch too. A good first sheet proves little; the stack can settle and feeding can shift.

What if production schedules leave little time for conditioning?

Record that limitation and treat unconditioned measurements cautiously. I still get this wrong sometimes: a machine fault may actually be a room problem.

Conclusion

How to adjust machine settings for different paper thickness begins with measuring each sheet’s caliper according to ISO 534 and recording the result in micrometres. Convert measurements carefully when using points: one paper point equals 25.4 μm. Before making adjustments, condition the stock in an environment of 23°C and 50% relative humidity, following ISO 187, so its moisture and dimensions are stable.

Use the measured caliper to guide feed, gripper, and nip clearances, while staying within the machine’s specified operating limits. Avoid relying on a single setting for every stock; make measured, incremental changes and then run a small test batch. Check that sheets feed consistently, registration remains accurate, and the paper shows no unwanted surface marks. Record successful settings for future reference, and recheck them when the stock’s thickness or condition changes.

Oliver

Oliver

Oliver is a seasoned marketing professional with a wealth of expertise in driving brand awareness and engagement. With a deep understanding of our company's product offerings, he consistently delivers high-quality content that enriches our professional blog. His insights not only shed light on......